Download and Install the ACS712 Current Sensor Library for Proteus Software for Simulation
In the world of electrical engineering, accurate current measurement is a fundamental requirement for various applications. Whether you’re designing power monitoring systems, energy meters, or battery management solutions, having the right simulation tools is crucial. Proteus, a widely used simulation software, allows engineers to design and test electronic circuits virtually. However, by default, it does not include all the components needed for advanced simulations, such as the ACS712 current sensor module.

The ACS712 current sensor is a highly precise and widely used module that helps measure AC and DC currents efficiently. To integrate it into Proteus for simulation, you need to download and install the ACS712 current sensor library manually. In this guide, we will walk you through the step-by-step process of adding the ACS712 sensor module to Proteus. By following these instructions, you will be able to simulate current measurements effectively in your circuit designs.
What is the ACS712 Current Sensor?
The ACS712 is a Hall-effect-based linear current sensor manufactured by Allegro Microsystems. It provides accurate current sensing with minimal power loss, making it an excellent choice for various applications. The module is available in different versions, each supporting different current ranges:
- ACS712-05A: Measures up to 5A
- ACS712-20A: Measures up to 20A
- ACS712-30A: Measures up to 30A
These sensors output an analog voltage proportional to the detected current, which can be interfaced with microcontrollers like Arduino, ESP32, and PIC microcontrollers for real-time monitoring.
Steps to Download and Install the ACS712 Library in Proteus
Follow these step-by-step instructions to add the ACS712 current sensor module to your Proteus software.
Step 1: Download the Library Files
First, you need to download the ACS712 current sensor library for Proteus. You can find the library download link in the button below.
Step 2: Extract the Downloaded File
After downloading the library, extract the ZIP file. Inside the extracted folder, you will find two important subfolders:
- Library Folder (Contains essential library files)
- Models Folder (Contains different ACS712 sensor models: 5A, 20A, and 30A)
Step 3: Copy Library Files to Proteus
- Open the Library folder from the extracted files.
- Copy the
.IDXand.LIBfiles found inside. - Locate your Proteus installation directory on your computer. Typically, it is found at:
C:\Program Files (x86)\Labcenter Electronics\Proteus 7 Professional\LIBRARY - Paste the copied files into the LIBRARY folder.
Step 4: Copy Models Files to Proteus
- Open the Models folder from the extracted files.
- Copy all the
.MDLfiles found inside (5A, 20A, and 30A models). - Locate the Models directory in your Proteus installation:
C:\Program Files (x86)\Labcenter Electronics\Proteus 7 Professional\MODELS - Paste the copied files into the MODELS folder.
Step 5: Restart Proteus
To ensure the newly added components are recognized, close Proteus if it is already open. Restart the software so that it can update the library database.
How to Use the ACS712 Sensor in Proteus
Now that the ACS712 current sensor module is installed in Proteus, let’s learn how to use it in a simulation.
Step 1: Open Proteus and Search for ACS712
- Launch Proteus 7 Professional.
- Click on Pick Devices (P).
- Type “ACS712” in the search bar.
- You will see different models available: ACS712-05A, ACS712-20A, and ACS712-30A.
- Select the desired sensor and click OK.
Step 2: Place the Sensor in the Workspace
- Drag and drop the selected ACS712 sensor onto the Proteus workspace.
- Adjust its position according to your circuit design.
Step 3: Connect the ACS712 Sensor to a Circuit
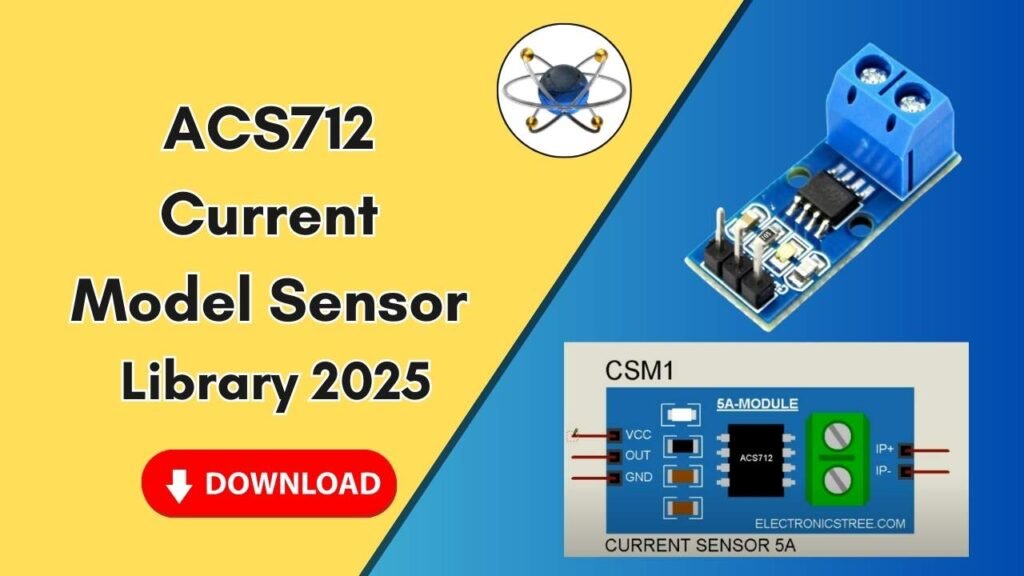
The ACS712 sensor has four main pins:
- VCC: Connect to 5V power supply
- GND: Connect to ground
- OUT: Connect to the analog input of a microcontroller (e.g., Arduino)
- IP+ & IP- (Input Terminals): Connect in series with the load circuit to measure current flow
Step 4: Run the Simulation
- After making the necessary connections, click on the Run Simulation button.
- Monitor the sensor output, which will display the measured current in real-time.
Applications of ACS712 in Proteus
By integrating the ACS712 current sensor module into Proteus, engineers can simulate various real-world applications, including:
- Power consumption monitoring
- Overcurrent protection circuits
- Battery management systems
- Motor current sensing
- Renewable energy applications (solar, wind)
Using Proteus for these simulations enables engineers to test their circuits before implementing them in hardware, saving time and reducing the risk of errors.
Conclusion
Adding the ACS712 current sensor library to Proteus is a straightforward process that allows engineers and hobbyists to simulate current measurement circuits efficiently. By following the step-by-step installation guide above, you can integrate the ACS712 sensor into your Proteus environment and utilize it for various applications.
Whether you’re a beginner in electronics or an experienced engineer, Proteus provides a robust platform for designing and testing circuits virtually. Keep exploring and experimenting with different components to enhance your circuit designs!


