Creating Custom Components in Proteus
Proteus is an industry-standard simulation software, renowned for its versatility in electronic circuit design. While the software comes equipped with a vast library of components, users often encounter scenarios where specific parts are missing. For example, an uncommon IC, a custom transformer, or a specialized sensor might not be available in the default libraries. This is where designing custom components in Proteus becomes a valuable skill.
In this detailed guide, we’ll show you how to create custom parts, organize them into libraries, and troubleshoot common issues to ensure flawless integration into your projects.
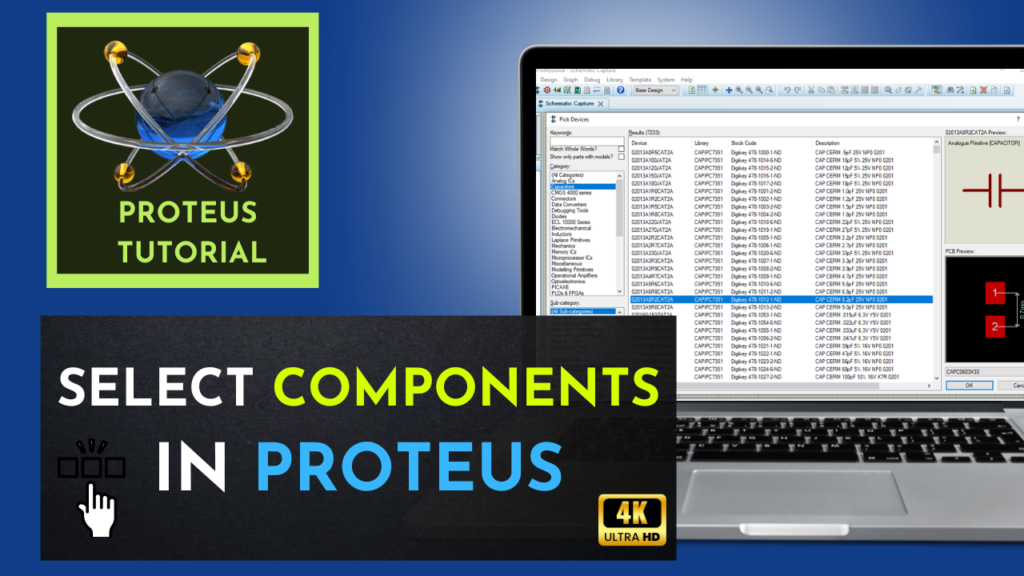
Why Create Custom Components in Proteus?
There are several practical reasons why you may need to design custom components in Proteus:
- Unavailability in Default Libraries: Sometimes, the required part isn’t included in Proteus’s built-in libraries.
- Specialized Components: Certain advanced or unique components, like proprietary ICs, may need to be designed manually.
- Customization Needs: You may want to modify the symbol, footprint, or electrical properties of an existing component.
By creating your own Proteus custom parts, you ensure that your simulations are accurate and meet the specific requirements of your design. Custom components also allow you to simulate circuits with components still under development or unavailable in the market.
Setting Up the Environment
Before you begin creating custom components, take these preparatory steps:
- Install Proteus: Ensure you are using the latest version of Proteus (Proteus 8 or later) to access updated features.
- Gather Resources: Collect datasheets, specifications, or drawings of the component you want to create.
- Understand the Component Requirements: Identify the number of pins, electrical characteristics, and PCB footprint of the component.
- Familiarize Yourself with Proteus Tools: Explore the Library Manager and drawing tools, which are integral to creating custom parts.
Step-by-Step Guide to Creating Custom Components in Proteus
Step 1: Open the Library Manager
The Library Manager is where you create, modify, and organize components in Proteus. To open it:
- Go to Library > Library Manager in the main menu.
- Click Create a New Device to start designing your custom part.
Step 2: Define the Component Name
- In the device creation window, assign a name to your component (e.g., “Custom_IC_123”).
- Write a brief description of the component for easy identification.
- You can also assign a category (e.g., Resistors, ICs) for better organization.
Step 3: Configure Pins
- Open the Pin Editor to specify the pins for your component.
- Add pins based on the component’s datasheet. For example:
- VCC for power input.
- GND for ground connection.
- I/O pins for signal input/output.
- Set electrical characteristics for each pin (Input, Output, Bi-directional, etc.).
- Arrange the pins on the canvas in a logical manner, reflecting the datasheet layout.
Step 4: Draw the Component Symbol
- Use the graphical tools in Proteus to create the schematic symbol.
- Create shapes, add lines, and place pins to match the real-world component’s diagram.
- Label the pins clearly for ease of use in simulations.
Step 5: Assign a PCB Footprint
- Link your schematic symbol to a physical PCB footprint.
- Proteus offers several standard footprints. If the required footprint isn’t available:
- Create a new footprint using the PCB Layout Editor.
- Import a custom footprint file if you have one.
Step 6: Save and Test
- Save your newly created component into a library (e.g., “Custom_Library”).
- Open a new schematic and test the custom component by wiring it into a circuit.
- Run a simulation to confirm that the custom part behaves as expected.
How to Create Proteus Libraries for Reuse
Once you’ve created multiple custom components, organizing them into libraries can save time and streamline your workflow. Here’s how to do it:
- Group Components: Use the Library Manager to group all related custom parts into a single library file (e.g., “My_Custom_Components”).
- Save the Library: Save the file in the Proteus library directory for easy access in future projects.
- Import Libraries: Share or import your custom library into new projects by loading it through the Library Manager.
Advanced Tips for Designing Proteus Custom Parts
To ensure your custom components are both functional and efficient, consider the following tips:
1. Use Accurate Data
Always rely on the official datasheet of the component for pin layout, dimensions, and electrical specifications.
2. Test in Incremental Steps
Validate your custom component after each stage—symbol creation, pin configuration, footprint assignment, and simulation testing.
3. Integrate SPICE Models
For advanced simulations, attach SPICE models to your custom components. This allows more accurate behavior during simulation, particularly for analog and mixed-signal circuits.
4. Label and Align Properly
Use consistent naming conventions and ensure that pins and symbols are neatly aligned for readability.
Common Troubleshooting Tips
Creating custom components may involve errors. Here’s how to address them:
- Incorrect Pin Mapping: If pins do not connect properly, revisit the Pin Editor and double-check assignments.
- Simulation Failures: Check the SPICE model and ensure all required parameters are correctly defined.
- Mismatch Between Symbol and Footprint: Verify that the schematic symbol matches the dimensions and pin configuration of the PCB footprint.
Conclusion
Mastering the creation of custom components in Proteus opens up endless possibilities for designing and simulating complex circuits. By following this guide, you can confidently design custom parts, organize them into libraries, and integrate them into your projects. Whether you’re a beginner or a seasoned engineer, this skill will greatly enhance your efficiency and flexibility in circuit design.
Ready to get started? Dive into Proteus and unleash your creativity today!



Dive into the massive realm of EVE Online. Become a legend today. Conquer alongside hundreds of thousands of explorers worldwide. Begin your journey