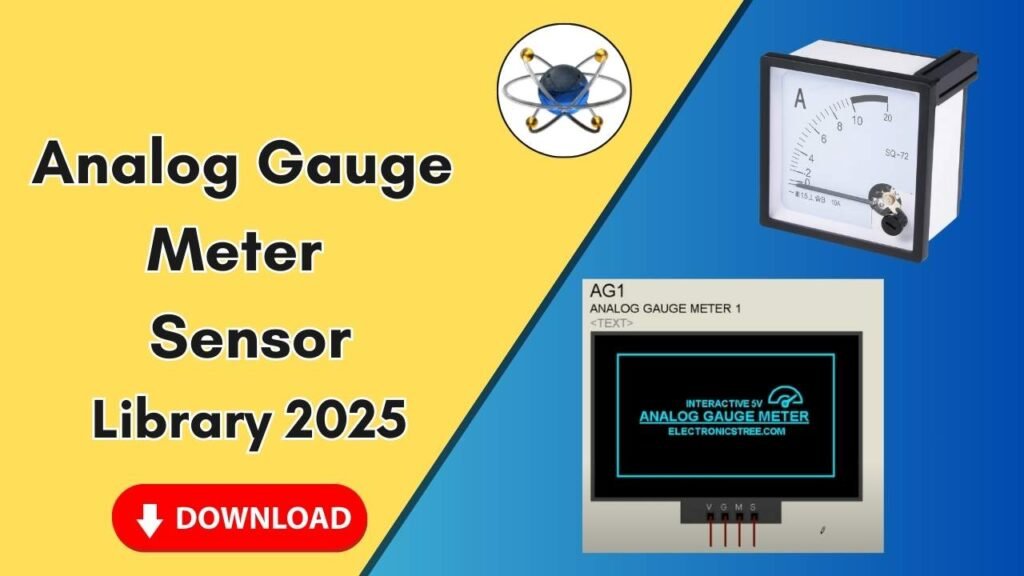
Download and Install the Analog Gauge Meter Library for Proteus Software for Simulation
In the world of electrical engineering, simulation plays a crucial role in testing and verifying circuit designs before implementation. Proteus, one of the most powerful simulation software, allows engineers to integrate various electronic components for accurate testing. However, certain libraries are not available by default and need to be added manually. One such essential library is the Analog Gauge Meter Library, which helps visualize real-time analog values in a simulated environment.

If you are an electrical engineer, student, or hobbyist working with Proteus, this guide will walk you through the complete process of downloading, installing, and using the Analog Gauge Meter Library in Proteus. By the end of this tutorial, you will have the necessary knowledge to integrate this component into your circuit simulations effectively.
Step-by-Step Guide to Adding the Analog Gauge Meter Library in Proteus
Step 1: Download the Library Files
The first step is to download the Analog Gauge Meter Library files. You can find the direct download link in the button below. The downloaded file will typically be in a compressed ZIP format.
- Locate the downloaded ZIP file.
- Extract the contents using WinRAR, 7-Zip, or any file extraction tool.
- After extraction, you will see two folders:
- Library Folder
- Model Folder
These two folders contain essential files that need to be placed in the correct directories within Proteus.
Step 2: Copy the Library Files to the Proteus Library Folder
Once you have extracted the files, follow these steps to place them in the appropriate directory:
- Open the extracted Library Folder.
- Copy the library file (
.IDXand.LIBfiles). - Locate your Proteus installation folder. By default, it is located at:
- C:\Program Files (x86)\Labcenter Electronics\Proteus 8 Professional (for Proteus 8 users)
- C:\Program Files (x86)\Labcenter Electronics\Proteus 7 Professional (for Proteus 7 users)
- Inside the Proteus directory, find and open the Library Folder.
- Paste the copied library files into this folder.
Step 3: Copy the Model Files to the Proteus Model Folder
In addition to the library files, the model files must also be added for the Analog Gauge Meter to function correctly.
- Open the extracted Model Folder.
- Copy the model files (
.MDLfiles). - Navigate back to the Proteus Installation Directory.
- Locate and open the Models Folder.
- Paste the copied model files into this folder.
Step 4: Restart Proteus to Load the New Library
For Proteus to recognize and integrate the newly added library files, it is essential to restart the software. If you have Proteus running, close it completely and reopen it.
Step 5: Search and Add the Analog Gauge Meter in Proteus
After restarting Proteus, you can now add the Analog Gauge Meter to your simulation:
- Open Proteus.
- Click on the P (Pick Devices) button.
- In the search bar, type Analog Gauge Meter.
- You should see two different Analog Gauge Meter components.
- Select the desired meter and click OK.
- Place the component on the workspace.
Step 6: Connect the Analog Gauge Meter to Your Circuit
Now that you have successfully added the Analog Gauge Meter to Proteus, you can integrate it into your circuit simulation:
- Drag and drop the component onto the schematic.
- Connect it with Arduino, microcontrollers, or other electronic components as per your design.
- Adjust parameters as needed to simulate different voltage and current values.
Step 7: Run the Simulation
Once everything is set up:
- Click on the Run Simulation button.
- Observe the Analog Gauge Meter displaying real-time analog values.
Why Use the Analog Gauge Meter in Proteus?
Adding the Analog Gauge Meter Library to Proteus has several advantages:
- Real-time Analog Visualization: Helps monitor voltage, current, and other analog parameters.
- Seamless Integration: Easily connects with Arduino and other microcontrollers.
- Enhanced Circuit Testing: Provides better insight into circuit behavior before physical implementation.
- Improved Simulation Accuracy: Ensures more precise electronic simulations.
Troubleshooting Common Issues
If you face any problems while adding the library, here are some common solutions:
- Library Not Showing in Proteus: Ensure you have placed the files in the correct directories and restarted the software.
- Model File Not Found Error: Double-check that the model files are in the Models Folder.
- Simulation Not Running Properly: Verify all connections and component placements in the schematic.
- Component Not Functioning Correctly: Right-click the component and check its properties for any configuration errors.
Conclusion
Adding the Analog Gauge Meter Library to Proteus is a straightforward process that greatly enhances your circuit simulations. By following this step-by-step guide, you can easily integrate this essential component into your projects, allowing you to visualize and analyze analog data effectively. Whether you are an engineering student or a professional, this library is a valuable addition to your Proteus toolkit.
If you found this guide helpful, don’t forget to share it with fellow engineers and subscribe to our updates for more insightful tutorials on simulation and circuit design. Happy simulating!


