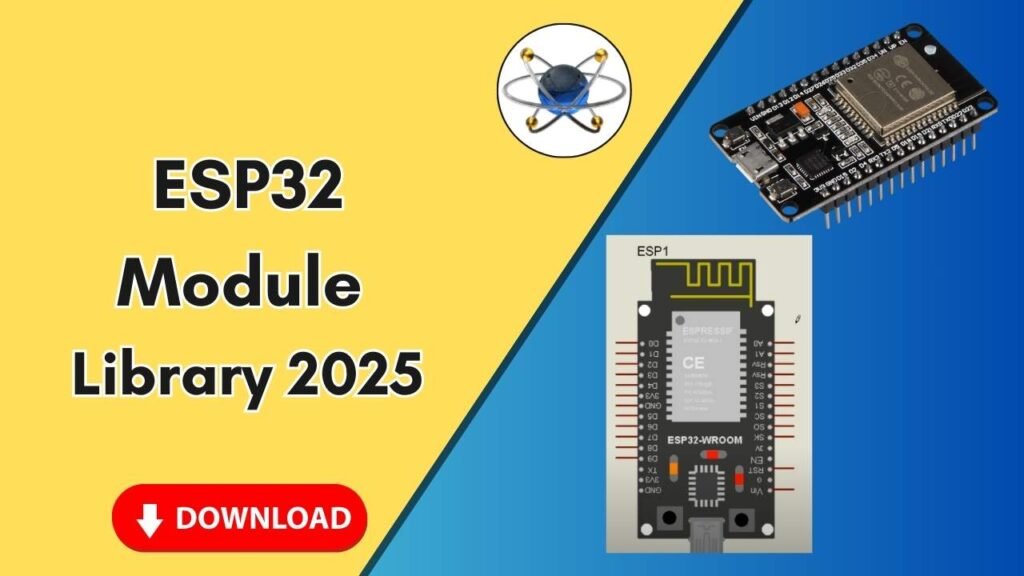
Download and Install the ESP32 Sensor Library for Proteus Software for Simulation
Electrical engineers and embedded system enthusiasts often rely on Proteus for circuit design and simulation. However, by default, Proteus does not include the ESP32 module, which is widely used for IoT applications. This guide will walk you through the step-by-step process of downloading and installing the ESP32 library in Proteus, enabling seamless simulation of ESP32-based projects.

Whether you’re a beginner or an experienced engineer, this guide will ensure you can integrate the ESP32 module efficiently into your Proteus environment.
Why Use ESP32 in Proteus?
The ESP32 is a powerful microcontroller with built-in Wi-Fi and Bluetooth capabilities, making it a popular choice for IoT applications. By adding its library to Proteus, you can:
- Simulate IoT projects before deploying them on actual hardware.
- Test firmware and configurations in a virtual environment.
- Reduce prototyping costs by troubleshooting circuit designs in Proteus first.
Steps to Download and Install ESP32 Library in Proteus
Follow these steps to add the ESP32 module to Proteus for simulation:
Step 1: Download the ESP32 Library Files
The ESP32 library for Proteus is not included by default, so you need to download it manually. You can get the required files from the link provided in the button below.
Once downloaded, locate the library file in your system.
Step 2: Extract the Library Files
- Right-click on the downloaded file.
- Choose the “Extract” option to unzip the folder.
- Open the extracted folder, and you will see two main files:
- ESP32TE.LIB (Library file)
- ESP32TE.IDX (Index file)
Step 3: Copy Library Files to Proteus Directory
- Navigate to your Proteus installation folder.
- Right-click on the Proteus desktop icon.
- Select Open file location.
- This will take you to the installation directory.
- Go one step back to the main Proteus 7 or Proteus 8 folder.
- Open the Library folder.
- Paste the copied ESP32TE.LIB and ESP32TE.IDX files here.
Step 4: Restart Proteus
For Proteus to recognize the newly added ESP32 library, you need to restart the software:
- Close Proteus if it is already running.
- Reopen the application to reload the library database.
Step 5: Search and Place ESP32 in Proteus
- Open Proteus and create a new project.
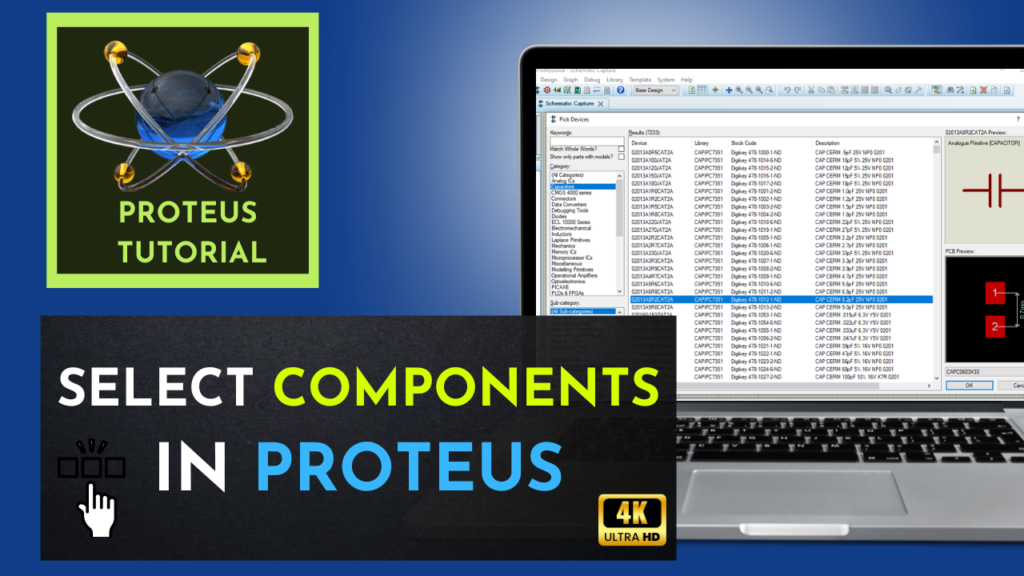
- Click on P (Pick Devices) and type ESP32 in the search bar.
- Select ESP32 Module from the list.
- Click on the workspace to place the ESP32 component.
- Zoom in to check the module details, including pins and configuration options.
Step 6: Configure ESP32 for Simulation
- Right-click on the placed ESP32 module.
- Select Edit Properties.
- Locate the Program File / HEX File section.
- Upload the HEX file if needed for simulation.
Testing the ESP32 Module in Proteus
To ensure the ESP32 module is correctly installed and functional, you can:
- Connect it with peripheral devices such as LEDs, sensors, or displays.
- Upload a sample HEX file to simulate a program.
- Run the simulation and verify the outputs.
Common Issues and Troubleshooting
- ESP32 module not appearing in Proteus search?
- Ensure you copied the files to the correct Library folder.
- Restart Proteus after adding the files.
- Check the file format and confirm it’s not corrupted.
- Simulation not working correctly?
- Make sure the correct HEX file is loaded.
- Check the power and ground connections in the circuit.
- Verify that you are using a compatible Proteus version.
Conclusion
Adding the ESP32 library to Proteus expands your simulation capabilities, allowing you to design and test IoT projects virtually before real-world implementation. By following the step-by-step installation guide, you can seamlessly integrate the ESP32 module into Proteus and begin working on your embedded systems and IoT designs without any hassle.
For more tutorials on Proteus and embedded systems, subscribe to our channel and explore our website for additional resources.


