Download and Install the Raspberry Pi 2 Library for Proteus Software for Simulation
Proteus is a powerful simulation software widely used by electrical and electronics engineers for designing and testing circuits before implementing them in real-world applications. One of its greatest strengths is the ability to integrate libraries for various components, including microcontrollers, sensors, and embedded boards like the Raspberry Pi.

If you are working on Raspberry Pi-based projects and want to simulate them in Proteus, you need to add the Raspberry Pi 2 library to the software. Unfortunately, Proteus does not include this library by default, but you can manually download and install it. In this guide, we will walk you through the step-by-step process of adding the Raspberry Pi 2 library to Proteus, ensuring you can efficiently simulate your circuits with this powerful microcontroller.
Let’s get started!
Step-by-Step Guide to Adding the Raspberry Pi 2 Library to Proteus
Step 1: Download the Library Files
Before you can install the Raspberry Pi 2 library, you need to download the required files. Follow these steps:
- Click on the download link provided below to get the library files.
- The downloaded file will be in a compressed format (ZIP or RAR). Extract it using any file extractor like WinRAR or 7-Zip.
- Once extracted, you will find multiple files, typically with extensions like
.IDX,.LIB, and.HEX.
Step 2: Copy the Library Files to Proteus Directory
- Open the extracted folder containing the Raspberry Pi 2 library files.
- Select all the files (
.IDX,.LIB, and.HEXfiles) and copy them. - Navigate to your Proteus installation folder. You can do this by:
- Right-clicking on the Proteus desktop icon.
- Selecting Open File Location.
- Go one step back to the main Proteus installation directory.
- Locate the Library folder and open it.
- Paste the copied files into this folder.
Step 3: Restart Proteus Software
- If Proteus is already open, close it.
- Reopen Proteus so that it can recognize the newly added library files.
Step 4: Search and Place Raspberry Pi 2 in Your Schematic
- Open Proteus and start a new schematic design.
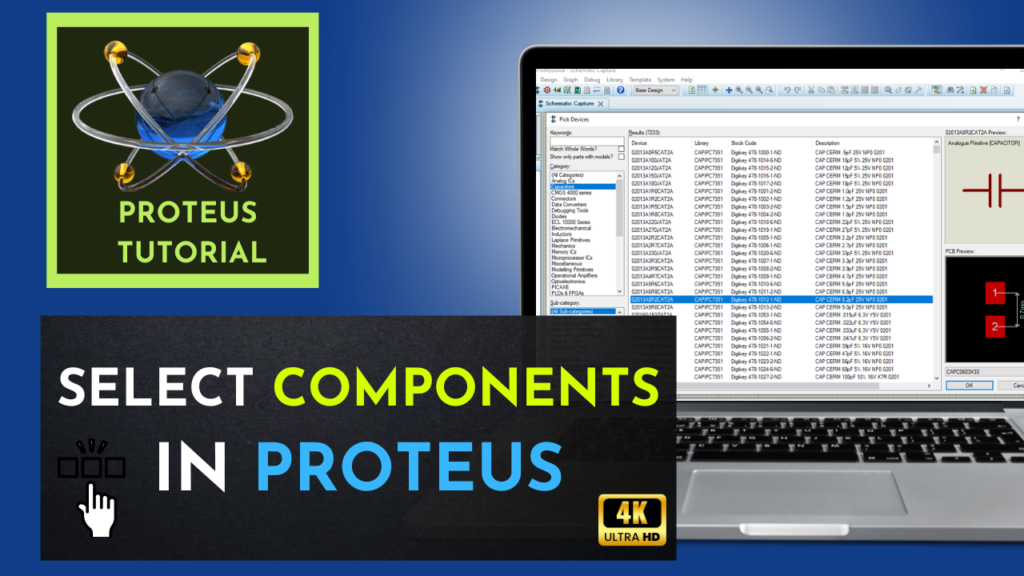
- Click on the Components Mode.
- In the search bar, type Raspberry Pi 2.
- You will see the Raspberry Pi 2 component in the list.
- Double-click on it to add it to your workspace.
- Click OK, and then place the Raspberry Pi 2 on your schematic.
Step 5: Connect Pins and Start Simulation
Once you have placed the Raspberry Pi 2 component in your schematic:
- Zoom in to view the component clearly.
- Identify the input/output pins, including Power (VCC), Ground (GND), and GPIO pins.
- Connect the appropriate circuit components as per your design.
- Run the simulation and verify that the Raspberry Pi 2 functions correctly in your virtual circuit.
Troubleshooting Common Issues
If you encounter any problems during the installation or simulation process, consider the following solutions:
- Library Not Showing in Proteus: Ensure you have placed the library files in the correct directory and restarted the software.
- Component Not Working in Simulation: Double-check the wiring connections and ensure all required dependencies are installed.
- Proteus Crashing: Try reinstalling the software or updating to the latest version.
Conclusion
By following this guide, you can successfully add the Raspberry Pi 2 library to Proteus and start simulating your Raspberry Pi-based circuits. This integration helps engineers and students test their designs before implementing them in real hardware, saving time and resources.
If you found this guide helpful, don’t forget to share it with others who might benefit from it. For more tutorials and in-depth guides on Proteus and circuit simulation, explore our website and YouTube channel.
Happy simulating!


