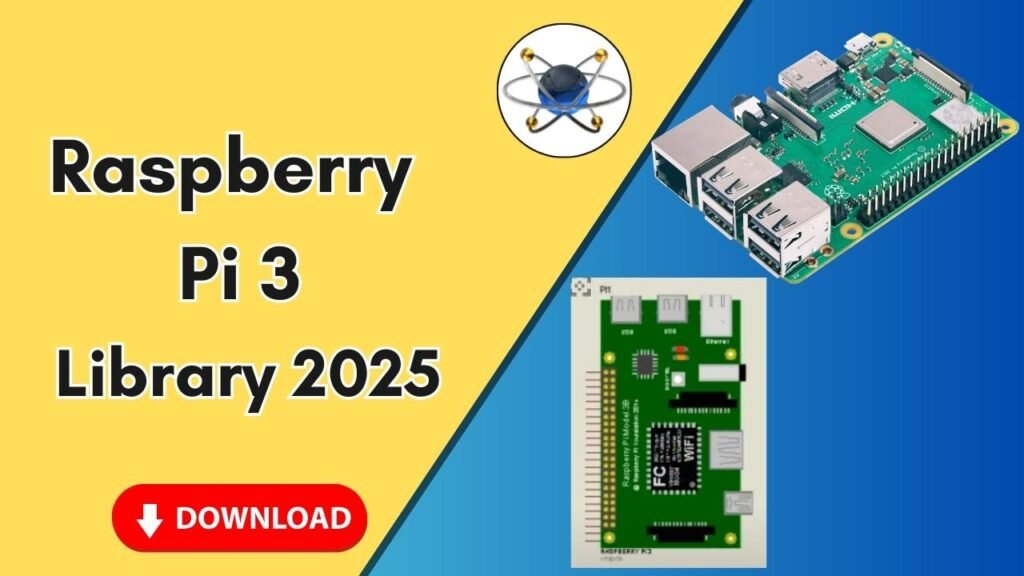
Download and Install the Raspberry Pi 3 Library for Proteus Software for Simulation
Proteus is a powerful simulation tool widely used by electrical engineers and students for designing and testing circuits before actual implementation. However, by default, Proteus does not include certain microcontrollers or embedded systems like the Raspberry Pi 3. To bridge this gap, adding the Raspberry Pi 3 library to Proteus is essential for performing simulations involving this popular microcontroller.

This guide will walk you through a step-by-step process to download, install, and use the Raspberry Pi 3 library in Proteus, ensuring a seamless experience for your circuit simulations.
Why Use Raspberry Pi 3 in Proteus?
Raspberry Pi 3 is a widely used single-board computer known for its affordability, versatility, and robust community support. By adding its library to Proteus, you can:
- Simulate Raspberry Pi 3 circuits before physically building them.
- Test GPIO connections and components.
- Develop and debug embedded systems efficiently.
- Save time and resources by detecting errors in the design phase.
Steps to Download and Install the Raspberry Pi 3 Library in Proteus
Follow these simple steps to add the Raspberry Pi 3 library to your Proteus software:
Step 1: Download the Raspberry Pi 3 Library
Before proceeding with the installation, you need to download the required library files.
- You can find the Raspberry Pi 3 library from the link provided in the button below.
- Once downloaded, extract the files from the compressed folder to access the
.IDXand.LIBfiles.
Step 2: Copy Library Files
- Open the extracted folder containing the Raspberry Pi 3 library.
- Locate the two essential files:
RaspberryPi3.IDXRaspberryPi3.LIB
- Copy these files to your clipboard (Ctrl + C).
Step 3: Locate the Proteus Library Folder
- Go to your desktop and find the Proteus shortcut icon.
- Right-click on the Proteus icon and select Open File Location.
- This will open the Proteus installation directory. From here, navigate one step back to find the
Libraryfolder. - Open the
Libraryfolder.
Step 4: Paste the Files into the Library Folder
- Paste the copied library files (
RaspberryPi3.IDXandRaspberryPi3.LIB) inside theLibraryfolder. - Close the window once the files are successfully pasted.
Step 5: Restart Proteus
- If your Proteus software is already running, close it.
- Reopen Proteus to ensure that it loads the newly added Raspberry Pi 3 library.
Step 6: Search and Add Raspberry Pi 3 in Proteus
- Open Proteus.
- Click on P (Pick Device) and search for Raspberry Pi 3.
- You should now see Raspberry Pi 3 listed in the component search results.
- Double-click on it to add it to the workspace.
Step 7: Place and Configure Raspberry Pi 3 in Proteus
- Click OK to confirm the selection.
- Place the Raspberry Pi 3 on the workspace.
- Zoom in to view the component details.
- You can now connect power, ground, and other components like sensors, LEDs, motors, and displays.
Troubleshooting Common Issues
If you face any issues while adding the Raspberry Pi 3 library to Proteus, here are some solutions:
- Library not found: Ensure that you have placed the
.IDXand.LIBfiles inside the correctLibraryfolder. - Proteus does not recognize the component: Restart Proteus to reload the libraries.
- Simulation errors: Double-check the circuit connections and ensure the components are properly linked.
- File extraction issues: Make sure you have properly extracted the files before copying them.
Conclusion
Adding the Raspberry Pi 3 library to Proteus is a simple yet crucial step for electrical engineers and students working on embedded systems and circuit simulations. By following the steps mentioned in this guide, you can seamlessly integrate Raspberry Pi 3 into Proteus and begin designing and testing your circuits efficiently.
If you found this guide helpful, don’t forget to share it with others and subscribe to our YouTube channel for more tutorials on Proteus and embedded systems.


