Download and Install the Raspberry Pi 4 Library for Proteus Software for Simulation
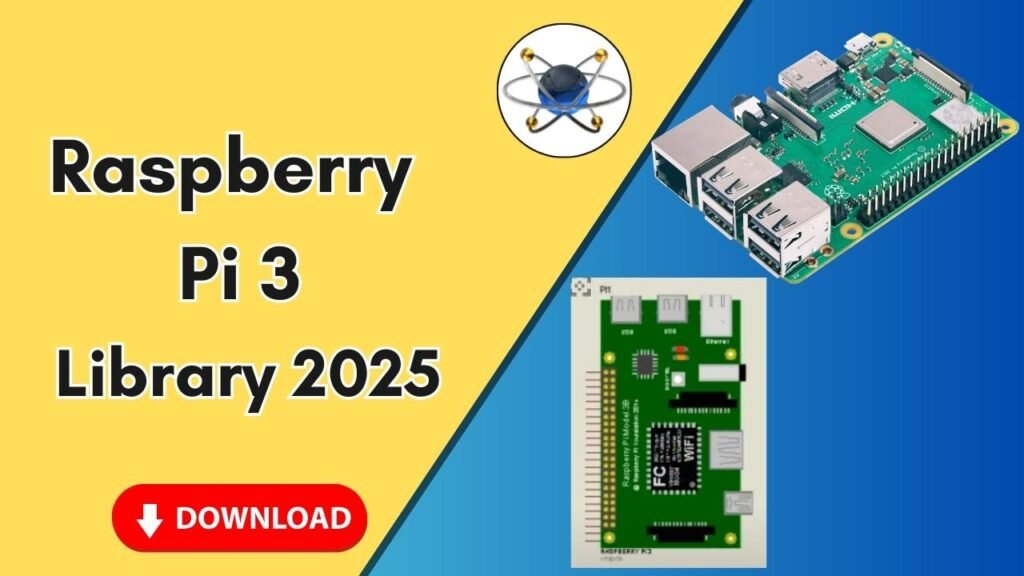
Electrical engineers and students often rely on simulation software like Proteus to test circuit designs before implementing them in real-world applications. Proteus is a powerful tool for simulating microcontrollers, embedded systems, and various electronic components. However, it does not come with all component libraries pre-installed, requiring users to manually add specific libraries for additional components like the Raspberry Pi 4.

If you are looking to simulate Raspberry Pi 4 in Proteus, this guide will walk you through the entire process of downloading, installing, and using the Raspberry Pi 4 library in Proteus. By following these simple steps, you will be able to integrate Raspberry Pi 4 into your circuit simulations, enabling you to test GPIO connections, sensor interfacing, and more before moving to real hardware.
Steps to Download and Install Raspberry Pi 4 Library for Proteus
Step 1: Download the Raspberry Pi 4 Library Files
To add the Raspberry Pi 4 library to Proteus, you first need to download the required files:
- Click on the Button Below to Download the Library.
- Download the ZIP file that contains the Raspberry Pi 4 library files.
- Extract the downloaded ZIP file to access the library files.
Typically, the extracted folder will contain the following two important files:
- RaspberryPi4.IDX
- RaspberryPi4.LIB
These are the essential files that Proteus needs to recognize and use the Raspberry Pi 4 in your circuit simulations.
Step 2: Locate the Proteus Installation Directory
Now, you need to move these files to the correct Proteus directory:
- Right-click on the Proteus shortcut icon on your desktop.
- Click on Open File Location to navigate to the Proteus installation folder.
- This will take you to the main Proteus directory (commonly named Proteus 7 or Proteus 8, depending on the version).
- Go one step back to locate the main installation directory.
- Look for the folder named Library.
Step 3: Copy and Paste the Library Files
- Open the extracted folder containing the Raspberry Pi 4 library files.
- Select both RaspberryPi4.IDX and RaspberryPi4.LIB files.
- Copy these files.
- Navigate to the Library folder inside the Proteus installation directory.
- Paste the copied files into this folder.
This step ensures that Proteus recognizes the Raspberry Pi 4 module and makes it available for simulation.
Step 4: Restart Proteus Software
After adding the new library files, you need to restart Proteus to apply the changes:
- If Proteus is already open, close it completely.
- Reopen Proteus software.
- The new library files will now be loaded into the system.
Step 5: Search for Raspberry Pi 4 in Proteus
Once the software restarts, follow these steps to check if the Raspberry Pi 4 has been successfully added:
- Open Proteus.
- Click on Pick Devices or the P icon from the component selection panel.
- In the search bar, type Raspberry Pi 4.
- If the installation was successful, you should see the Raspberry Pi 4 module in the list.
- Select it and click OK to add it to the workspace.
Step 6: Place and Connect Raspberry Pi 4 in Proteus
- Once the Raspberry Pi 4 module is added, click anywhere on the workspace to place it.
- Zoom in to view the detailed pin configuration.
- You can now connect components like sensors, LEDs, and motors to the respective GPIO pins for simulation.
Testing the Raspberry Pi 4 in Proteus
After adding the Raspberry Pi 4 to your circuit, you can:
- Connect various input/output components to the GPIO pins.
- Simulate Python code execution using Proteus simulation.
- Analyze power consumption and circuit response in different scenarios.
Troubleshooting Tips
If you face any issues while adding the library, consider the following:
- Library not found in Proteus?
- Ensure you have copied the .IDX and .LIB files to the correct Library folder.
- Restart Proteus after pasting the files.
- Component not appearing in the search bar?
- Double-check if the files were properly extracted before copying.
- Try re-extracting the ZIP file and repeating the installation process.
- Proteus crashes or doesn’t load?
- Ensure your Proteus version is up to date and supports custom libraries.
- Check if any other installed libraries are causing conflicts.
Conclusion
Adding the Raspberry Pi 4 library to Proteus is a simple yet essential step for anyone looking to simulate Raspberry Pi-based projects before hardware implementation. By following the step-by-step instructions provided in this guide, you can effortlessly integrate Raspberry Pi 4 into Proteus and start designing and testing circuits with ease.
If you found this guide helpful, don’t forget to share it with fellow engineers, students, and hobbyists. Stay tuned for more tutorials on electronics, circuit simulation, and microcontroller programming!


