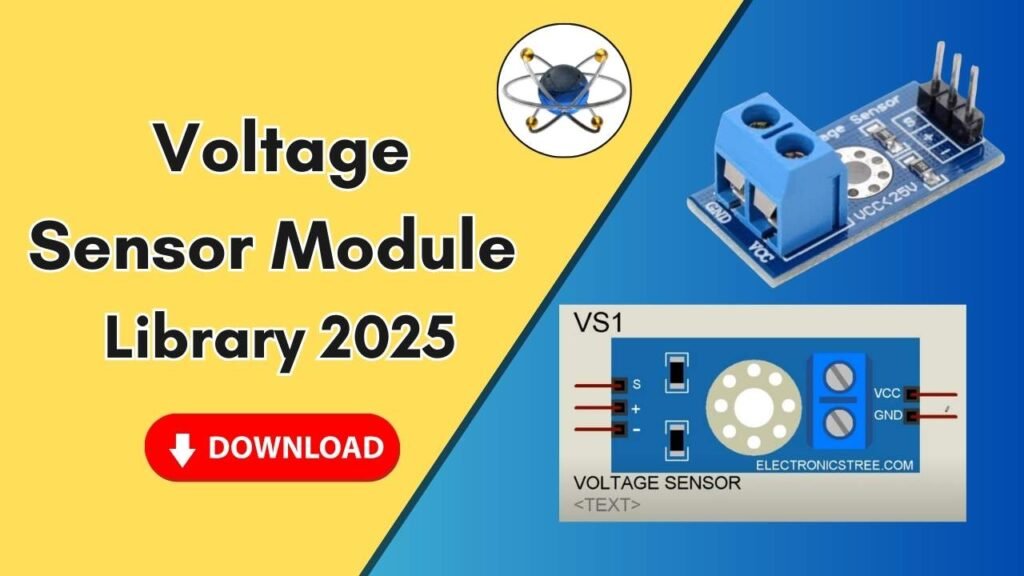
Download and Install the Voltage Sensor Module Library for Proteus Software for Simulation
In the world of electrical engineering and circuit simulation, Proteus software stands out as a powerful tool for designing and testing electronic circuits before implementing them in real life. One crucial aspect of effective simulation is the availability of accurate libraries for various electronic components, including sensors. The Voltage Sensor Module Library is essential for simulating voltage measurement circuits within Proteus. In this guide, we will walk you through the process of downloading, installing, and using the Voltage Sensor Module Library in Proteus for seamless circuit simulation.

By the end of this article, you will have a clear understanding of how to integrate the Voltage Sensor Module into Proteus, allowing you to simulate voltage measurement circuits effortlessly.
Step-by-Step Guide to Adding the Voltage Sensor Module Library to Proteus
Step 1: Download the Voltage Sensor Module Library
To begin, you need to obtain the Voltage Sensor Module Library files. These files typically consist of:
- Library Files (used to add the component to the Proteus software)
- Model Files (necessary for component simulation)
You can find the required files through the download link provided in the button below.
Step 2: Extract the Downloaded Files
Once the download is complete, extract the zip file. You will find two folders inside:
- Library Folder
- Model Folder
Both of these folders contain essential files that need to be placed correctly in the Proteus installation directory.
Step 3: Copy the Library Files
- Open the Library Folder.
- Locate the library file (typically with a
.LIBextension). - Copy the file.
- Go to your Proteus Installation Directory:
- Locate the Proteus shortcut on your desktop.
- Right-click and select Open File Location.
- Navigate one step back to the Proteus main folder.
- Open the Library Folder inside the Proteus directory.
- Paste the copied library file here.
Step 4: Copy the Model Files
- Open the Model Folder.
- Locate the model file (typically with a
.IDXor.MDLextension). - Copy the file.
- Navigate to the Proteus Installation Directory:
- Go back to the main Proteus folder.
- Open the Models Folder inside Proteus.
- Paste the copied model file here.
Step 5: Restart Proteus Software
For the changes to take effect, you must restart Proteus:
- If Proteus is currently open, close it completely.
- Reopen Proteus so it can load the newly added library files.
Step 6: Search for the Voltage Sensor Module
- Inside Proteus, go to the Component Library.
- Use the search bar and type Voltage Sensor.
- Select the Voltage Sensor module from the list.
- Click OK to add it to your workspace.
Step 7: Place and Connect the Voltage Sensor in Your Circuit
- Drag and drop the Voltage Sensor onto the Proteus workspace.
- Zoom in to see the component clearly.
- Identify the component’s terminals:
- Positive Terminal (+): Connect this to the positive voltage source.
- Ground Terminal (GND): Connect this to the negative voltage source.
- Signal Pin: Connect this to the analog input (AIN0) of your microcontroller.
- 5V Pin: Connect to a 5V power source.
- GND Pin: Connect to a ground (GND) connection.
Step 8: Simulate the Circuit
Once you have placed and connected the voltage sensor module, proceed with the simulation:
- Click the Run Simulation button in Proteus.
- Observe the voltage readings and ensure the sensor is functioning correctly.
- Adjust connections if necessary.
Troubleshooting Common Issues
If the Voltage Sensor Module does not appear in Proteus:
- Ensure the library and model files were copied to the correct directories.
- Restart Proteus after adding the files.
- Verify that the file extensions are correct and intact.
If the sensor does not work properly in simulation:
- Double-check the circuit connections.
- Ensure you are using a compatible microcontroller.
- Confirm that the Proteus version supports the added library.
Conclusion
Adding the Voltage Sensor Module Library to Proteus is a simple yet crucial process that allows electrical engineers and students to simulate voltage measurement circuits effectively. By following the steps outlined in this guide, you can integrate the Voltage Sensor Module into Proteus and enhance your circuit simulation capabilities.
Now that you have successfully installed the Voltage Sensor Module, experiment with different voltage levels and observe how the sensor responds in your Proteus simulations. This will help you gain deeper insights into voltage measurement and sensor behavior in electrical circuits.
For more tutorials on Proteus and other electronic simulation tools, be sure to visit our YouTube channel and explore additional resources. If you found this guide helpful, don’t forget to share it with fellow engineers and students!


